New Zealand Park & Pipe

New Zealand has some very talented park riders.

New Zealand has a Park and Pipe course to educate instructors on how to teach in the park.

This course is somewhere in between Canada’s park 1 & park 2. In order to pass this course one must be able to spin clean 360’s both directions on a med jump, as well as over a side hit outside of the park. A rider must be able to show a Boardslide on a box with the board reaching 90 degrees in orientation with the box.

Their were many parts of the teaching style that I enjoyed. One in particular is how they incorporate the Environment into their teaching. For example we were hitting a medium jump and practicing our Shifty’s. We were asked to point the nose of our snowboards at the trees on the side of the run. This is a very simple idea but the visual cue did help me to get the most counter rotates that I could.

The Kiwi’s refer to a straight air as a primary movement. The next step was to add a shifty, which was referred to as a secondary movement. In order to pass their level 2, one must ride over a medium jump and incorporate some sort of secondary movement like a Shifty or a grab.

When teaching park, they believe an instructor must keep their student in the “sweet spot”. In order for a student to be in the sweet spot the instructor must balance safety with fun and achievement. Their teaching methodologies state that in order for a student to be successful they must be; comfortable, confident and committed.

In order to be successful with the park and pipe certification the candidate must be efficient at analysis and improvement. On the hill the evaluator shows the candidates a video of a student trying an unsuccessful trick with a cell phone. Students partner up, imagine that the rider on the video is the their partner and are tasked with going about giving their partner the feedback that they think they need.

Overall it was a great session that I really enjoyed and will start to incorporate some of their ideas into my own lessons.

Breen Trott

APSI riding concept: how to deal with Australian variable snow conditions

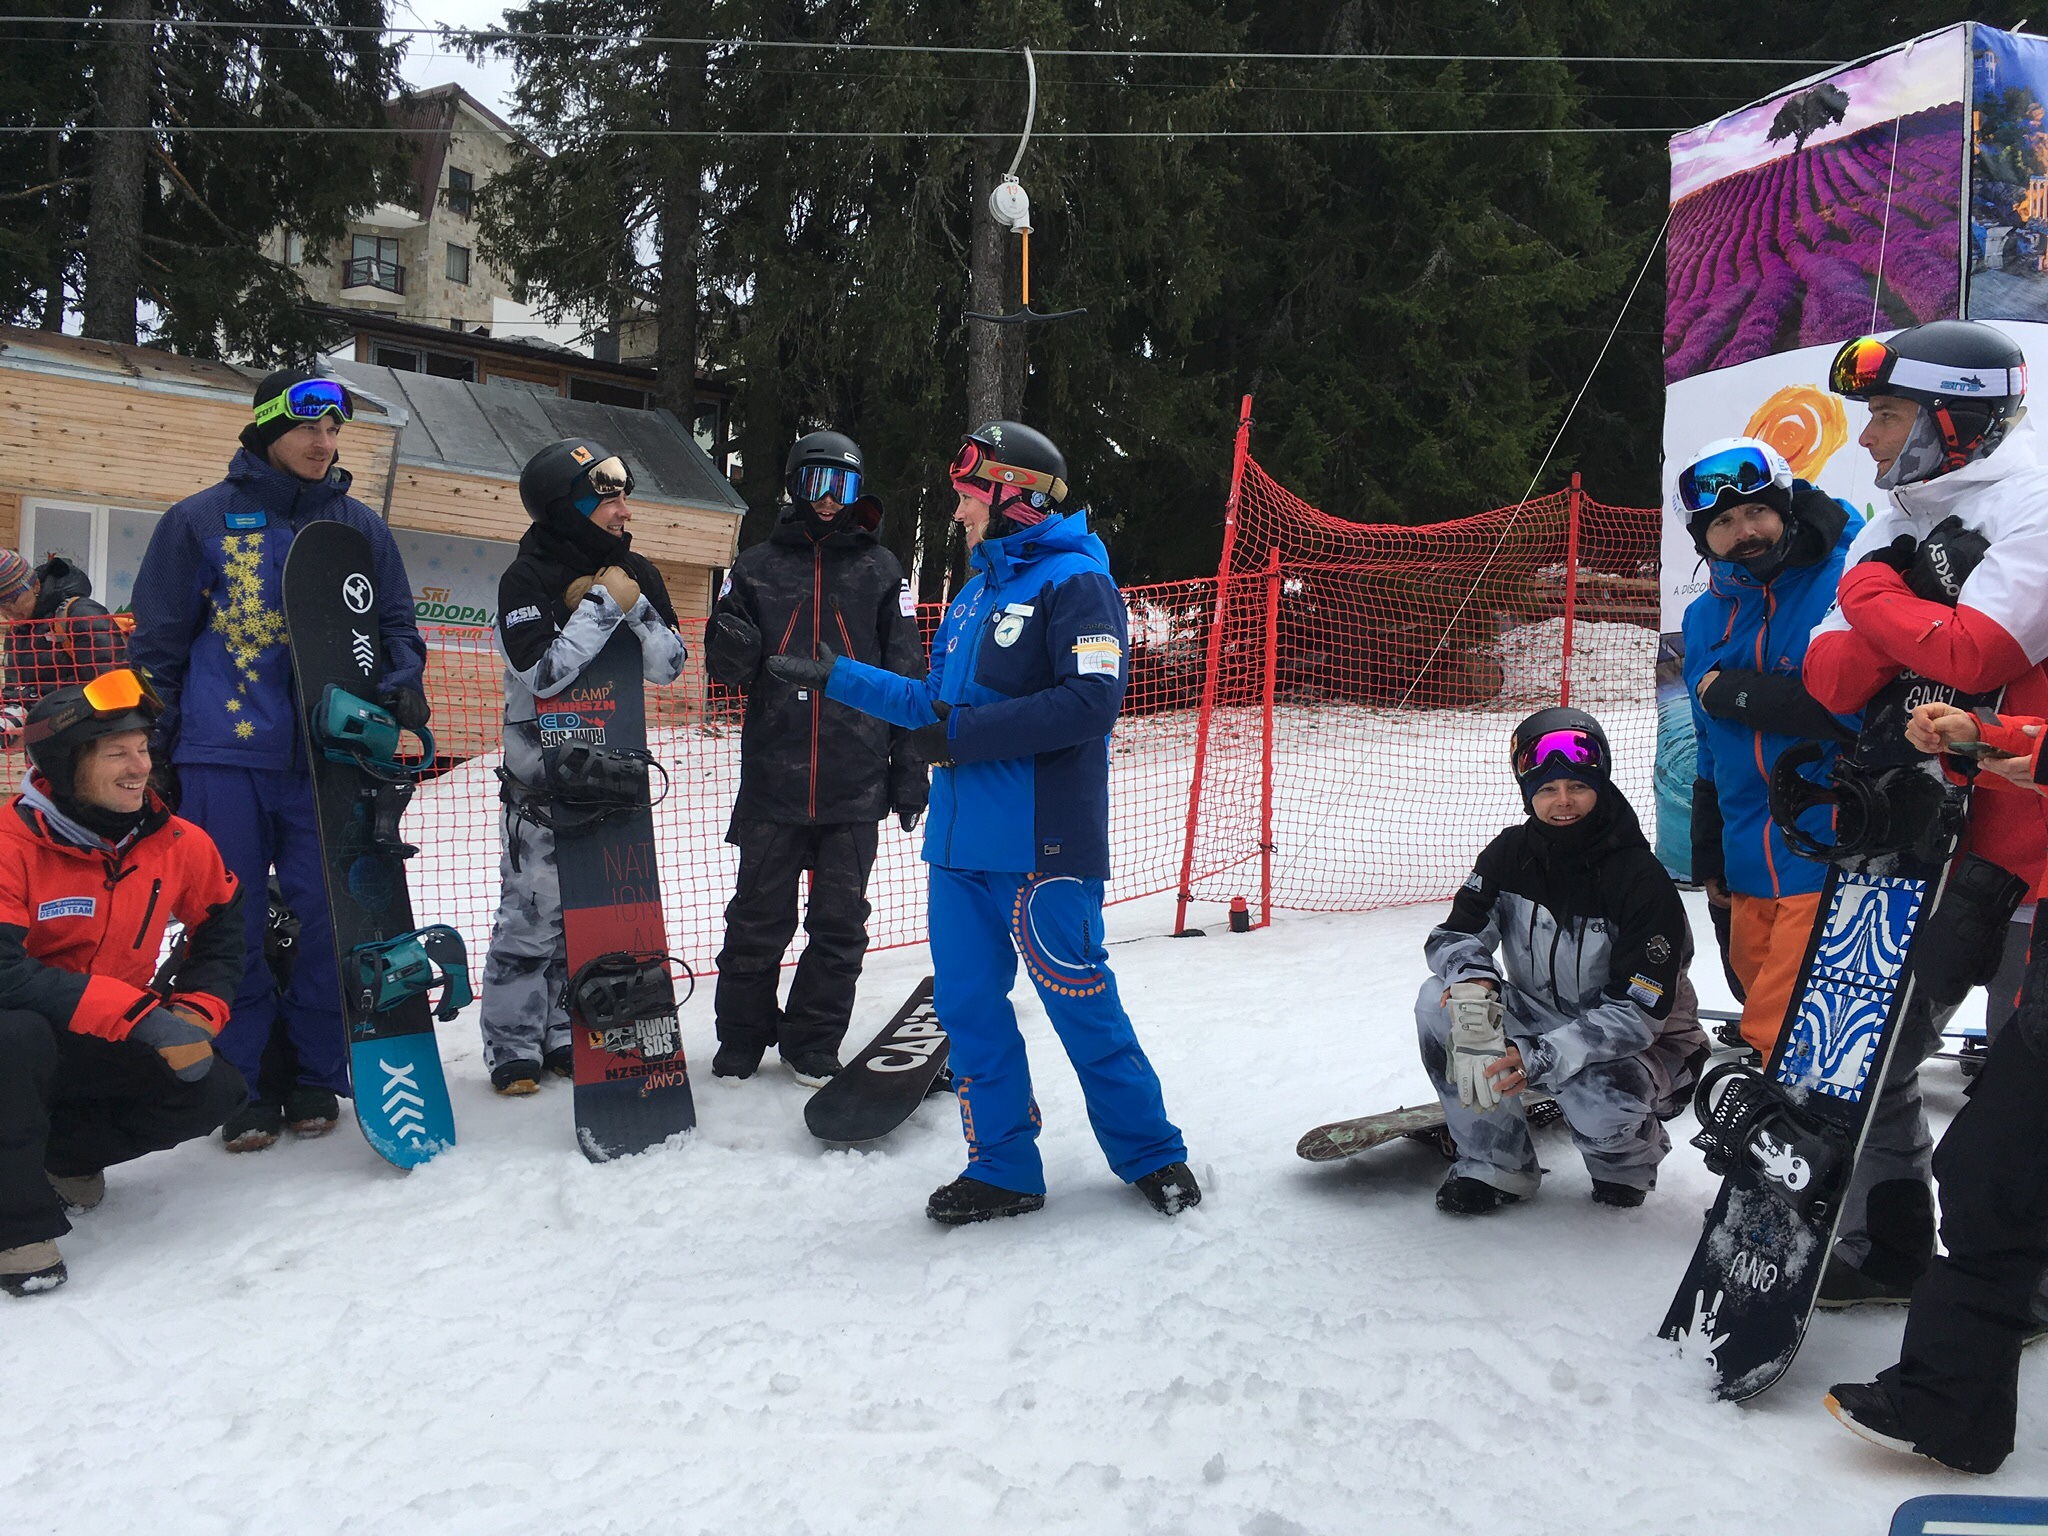
Hi there! Luc, Adam, and myself attended Australian presentation led by Kylie and Adam ( probably the youngest demo team member of whole snowboard crew here)

Even though I work with many Australian certified instructors in my home resort (Whistler Blackcomb) I personally am not really familiar with APSI system. So I was very curious to learn about it.

To start with, Adam came down the pitch with long radius turn demo highlighting APSI technique. Kylie who was with the group at the bottom, explained about his body position and edge application to the group. (Establish visual image) I found it this was a pretty good way to present. Especially someone like me who is a visual learner.

Messages here were :

1- Centre of Mass is close to the snowboard.

2-Stable and quiet upper body, all the actions happen with lower body.

Then we tried the edge engagement at the initiation of the run in APSI way as a static exercise. For toeside, move COM slightly inside to stack the body over the edge (inclination), then use a lot of knee flexion to increase edge angle (angulation). For heelside, again minimum inclination, but creating edge grip by flexing hips joints to start with ( more vertical flexion at hip joints). Key point here is that I felt that APSI uses less inclination than CASI.
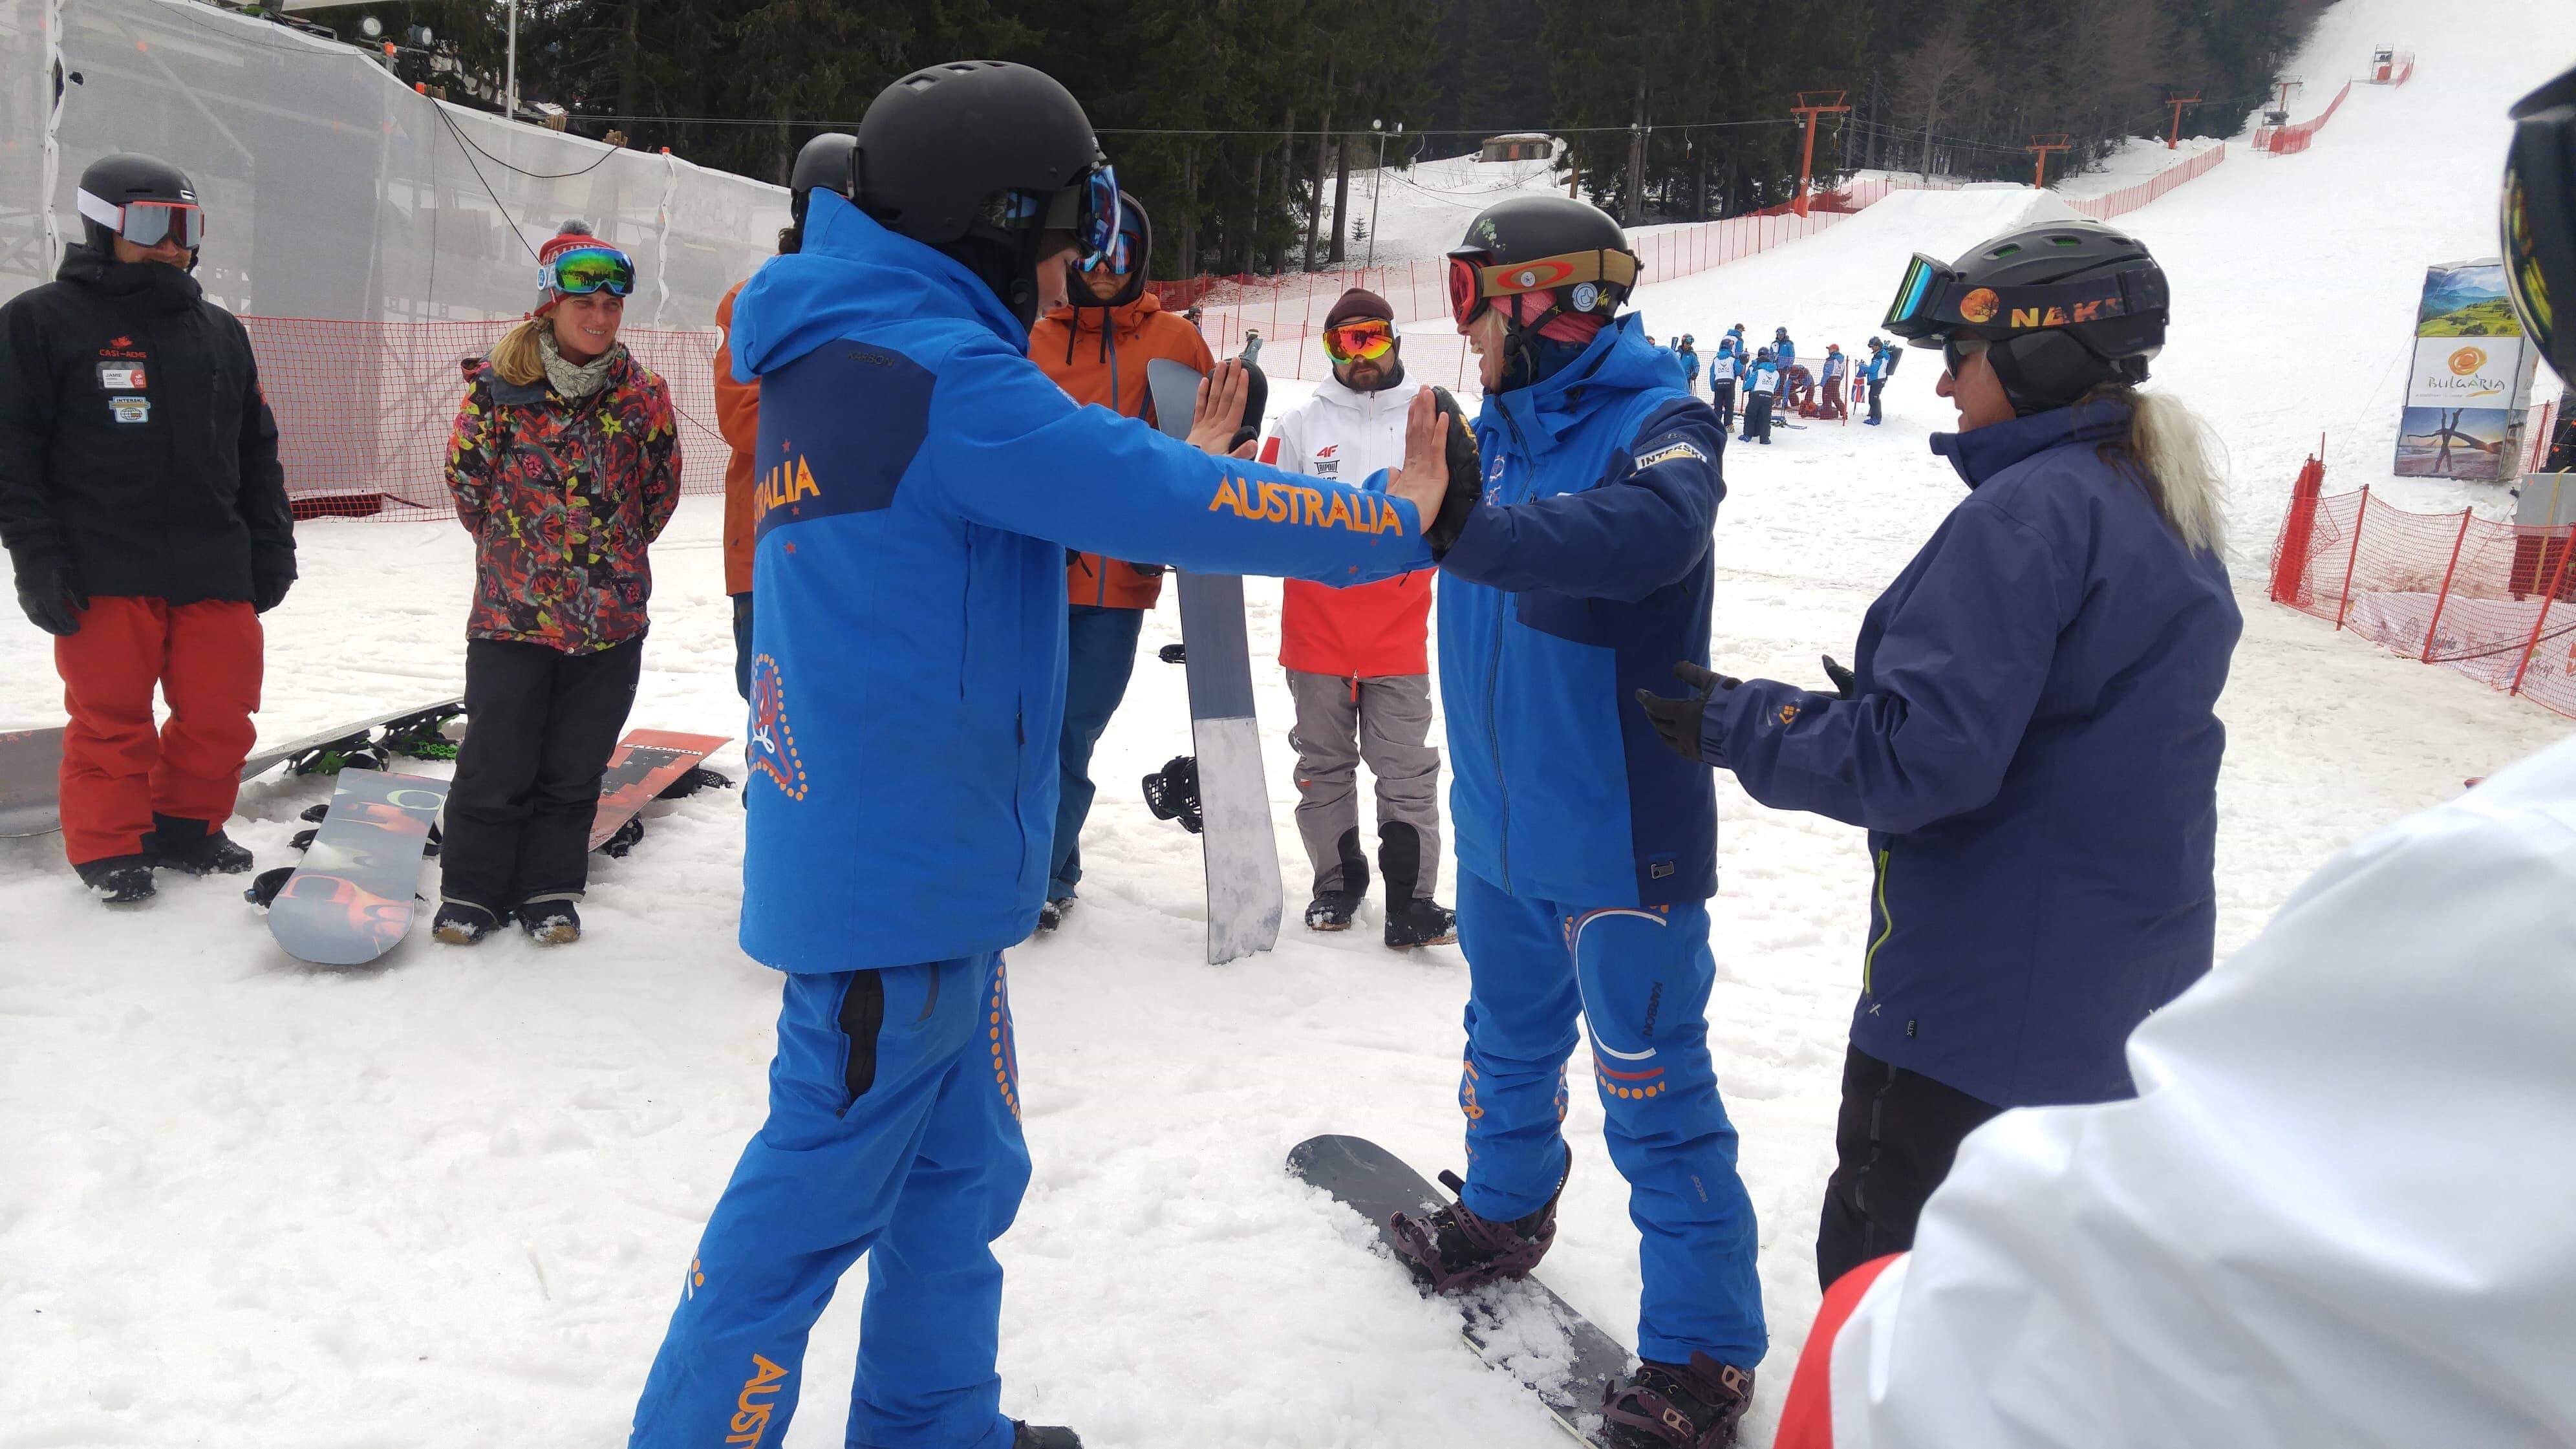
Then we tried a few carved uphill turns to feel this movement while moving. Here they emphasized that how they achieve the edge angle : highest edge angle = lowest body position. (This level of edge skill is required for level 1 certification) Again this body position being COM close to the board and quiet upper body is important in order to cope with Australian variable snow conditions especially when it is icy, for them it is not a smart thing to move upper body too far inside and COM away from the board.. that is what they said.

Move on to the one of the exam task of level 2 : Long Turn. Level 1 edge skill was how to feel the grip. Here for level 2 is focus on edge application especially at transition. (They told us to be patient at the top of the turn not rushing to apply edge too soon and not too aggressive) So at the transition phase, run the board fairly flat for the top part of the turn, then increase edge angle and load the board towards the bottom of the turn.

For level 3 level long turns. We experimented three different body parts to have more tension to ride : upper body, core, legs. And we compared which one would be more beneficial to achieve performance for ourselves. Again they explained little bit of the sequence of the movement regarding edge application movement. Release ankle and incline first at the start of the turn them flex at the completion phase of the turn. Still mentioning quiet and passive action at the top of the turn and all the actions happen towards the bottom of the turn. Those actions are, more edge, more pressure application and aggressive vertical flexion. I personally felt by doing that so much pressure built up towards the bottom of the turn and with the slush snow we were riding, It was slowing me down during that phase…

Level 4 they introduced separation of upper and lower body. Definitely more extreme level compared to CASI way of interpretation of upper-lower body separation. For APSI separation is introduced by keeping hips parallel to the snowboard while separating upper and lower body at the waist, upper body turns more towards the direction of travel (more anticipated position) According to APSI, by doing this position, it creates the strong core tension and also this position allows the rider to create dynamic angulation with shoulders, which stabilizes the body position with levelled shoulders to the pitch and perform level 4 standard long turns.

Here, even for level 4 standard, APSI still mentioned that the top of the turn has minimum actions regarding edge angle and pressure, instead, just creating platform that body can stand on, all the actions happen past the fall line.

I understand that every country has different way to interpret when it comes to riding techniques, quite often it is determined by the terrain and snow conditions.

What I learned today from APSI presentation was an interesting interpretation of edge and pressure application based on variable snow condition that Australian mountain has. However I found it was quite different from what we promote in CASI especially when we try to achieve higher level of performance. We CASI definitely use more inclination at the transition, start applying edge grip as well as pressure before the fall line to achieve more dynamic performance.

Thank you for reading this long blog!

Yuki
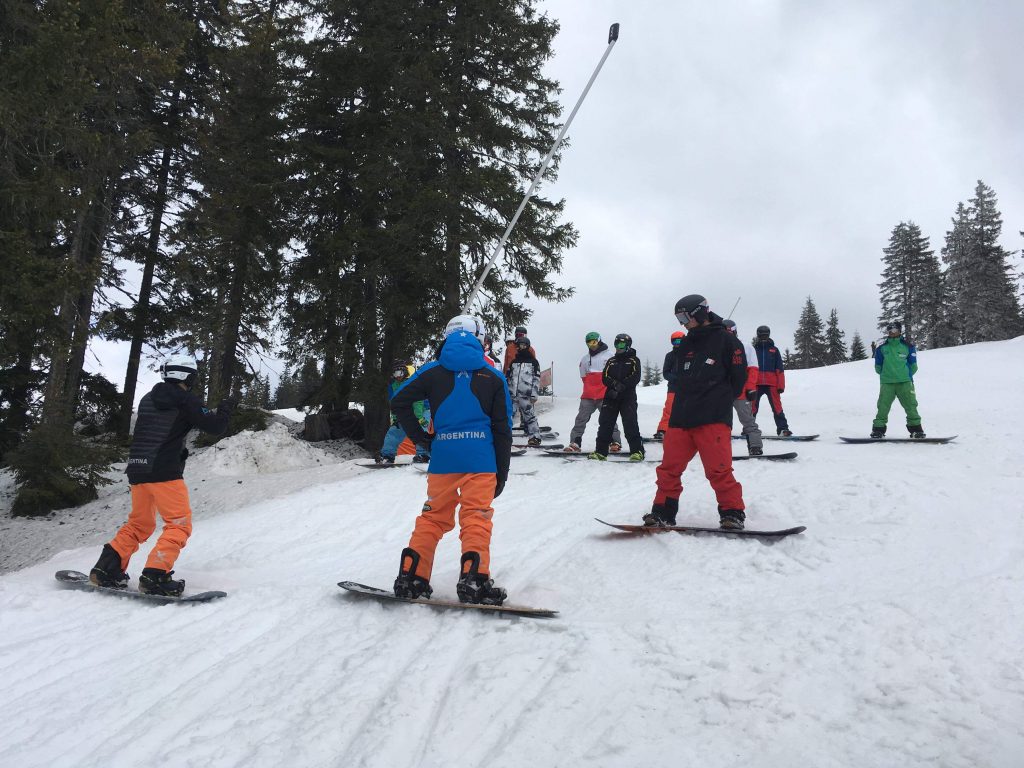
Getting loose with Argentina

The concept for this session was about not only understanding tension in our bodies when riding but also trying to understand where unconscious tension comes from and how we can create more awareness of it in order to decrease it and allow more flow to our riding.

We started off with a simple head to toe warm up off of our boards as it was the first run of the day for most of us.Once we strapped into our bindings we did a lot of pendulum actions using counter rotation to get our direction changes in order to loosen and get our core muscles activated.Breathing was the next step(anyone who has raced a banked slalom knows that we sometimes forget to do this) so we concentrated on breathing in as we extended and then out when flexing, as we breathed out we were trying to feel our feet extend and our toes spread a little and really feel our feet along the sole as we got to the neutral position. The point to all this is that when the instructor knows how to relax they can then teach this feeling to t0heir students.

We moved on to understanding our range of movement, taking flexion and extension to as far as we could so then work within that range to move as efficiently as possible.The tactic they used was to isolate our hips for rotation in order to be more conscious of not only where and how much we are moving but also the effects this range of motion has on the board and our turn shape.

To highlight how relaxed we can be when we ride we were asked to drop our arms down to our sides and let them just hang, the premise being that if we always have them out like an airplane that creates tension in the shoulders( I encourage you to try this one and see what happens ).The idea is that by being loose we then have to opportunity to tense and contract our muscles should we need to.

The take home messages seemed to be that when talking about the teaching aspect, one thing that came up for both instructors on courses and for students when being taught was that conciousness + concentration sometimes give us tension without us thinking about it.It’s something we should all try and be aware of and try to negate to the best of our ability and that by being aware of our full range of motion gives us another tool to economize movement creating efficiency towards our intended outcome.

Korean Karving!

The Koreans love to carve and chose to focus their on snow session on sharing some of the movements they use to lay down those sweet arcs.

Interski truly is an international melting pot of cultures, languages, and snowboard techniques and this was very evident during this session. The Korean snowboard techniques and approaches are clearly a product of their environment. Dealing with mostly man made snow on slopes that are typically groomed to within an inch of their lives you can see why the Koreans love to carve, and why they are so good at it.

Despite the language challenges and some difficulty in understanding the nuances of their message at times the Korean session was very well attended and all of the attendees were keen to hear what they had to say and to try the movement patterns they are promoting.

The primary technical message was to create good loading of the snowboard through constant vertical movement in the lower joints. If you are static at any point throughout your turn then you lose the energy built up in the snowboard and your riding becomes less dynamic. They were promoting a very aggressive move into the next turn with the upper body across the board and down the slope using the energy that you had built in the previous turn. This aggressive move helped to set a strong platform on the new edge high in the arc and gave them the ability to begin to bend the board early in the turn.

One of their demo team riders has been riding a race board with plates and risers with hard boots all week showing their commitment to the carve. Beyond that though he has shown impressive versatility all over the mountain with short turns in formation on the demo slope and even a few laps over the jump.

Despite the language challenges the riding did the talking in this session! Very impressive. Kudos to the Korean team for stepping up in front of a huge group to share their ideas in a language that is not very easy for them!